My first attempt at a traditional Belgian farmhouse-style ale: the saison.
Originally Posted: Aug. 6, 2020

Table of Contents
Quick Specs
- Est. OG = 1.056
- OG = 1.052
- FG = 1.002
- ABV: 6.6%
- Taste Profile: Fruity esters and peppery phenols from Belgian yeast
- Time: Canned after 1 month (could’ve canned sooner)
- Yield: Like, 25 16-oz cans? There were some complications.
Intro
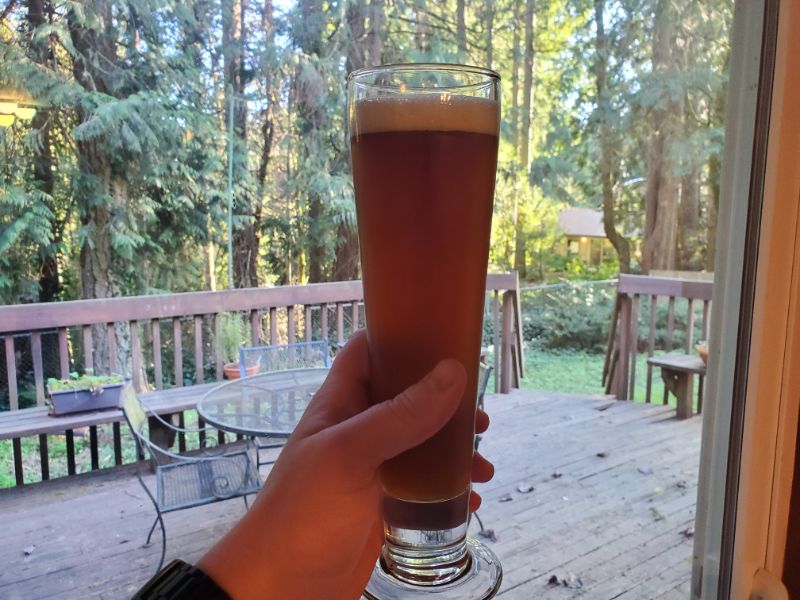
Saison is a great beer on a hot summer day. While it may contain fruity notes like many English ales, it ferments out to be a much drier and drinkable beer. The Belgian yeast strains also add a peppery spiciness to it when fermented at high temperatures.
I used an all-grain kit that I purchased online to make this beer. I believe the kit came from Northern Brewer, and included all the un-milled grain, hops, and an instruction sheet in one bag. All I had to do was provide my own yeast, which I already had on hand for some reason (this was my first saison; maybe I used some on a cider at some point?).


This was before I started keeping bulk amounts of my own un-milled grain on hand, and I found that kits like this are a great alternative if you’re not ready to have your own inventory. I still buy kits like this sometimes, especially if I want to try brewing a specific style but don’t see the need to keep that style’s specialty grains on hand.

Brief History
Saison started out as a Belgian farmhouse ale. It was low-ABV—what we might call “sessionable” today—and was meant to quench the thirst of farm workers throughout the day. It was brewed in the cooler months to keep the beer from spoiling and provide make-work for farm workers, and then served during the summer months.
Originally, saisons would’ve clocked in around 3 – 3.5% ABV, but by the 20th century stronger examples could measure up to 6.5 – 8%.
Ingredients
Malt
- 10 lbs. Belgian pale malt (you can substitute Pilsner)
- 0.75 lb. Crystal or Caramel 20°L
Hops/Other
- 2.5 oz. Hersbrucker hops @ 60 minutes (might be able to sub Hallertau or Tettnang)
- Yeast nutrient and Whirlfloc @ 15 minutes
- 0.5 oz. Hersbrucker hops @ 10 minutes
Yeast
- Belgian Saison yeast (I used Lallemand Belle Saison)

Equipment
- Sanitizer
- Fermenter
- Airlock and stopper
- Your choice of brewing system (I use Grainfather all-in-one)
- Hop spider (optional)
Instructions
- Mash at 149°F for 60 minutes.
- Mash-out at 170°F for 10 minutes (I forgot to do this, but the beer turned out fine. I skip mash-out on most of my beers now that I think about it).
- Boil for 60 minutes, following hop addition schedule.
Variations
I would like to brew a more traditional session version of this beer but haven’t gotten around to it as of writing this article.

Tips & Tricks
I attempted to can-condition this beer (a variation on bottle-conditioning) because I had just bought a Cannular can seamer and wanted to try it out. Also, my kegerator hadn’t arrived yet but I still wanted to be able to serve the beer. I even built a makeshift bottle-conditioning chamber out of a large plastic container, a seed-warming pad, and some aluminum insulation I had leftover from making my fermenter heat wraps.


My advice is this: Don’t use a can seamer until after you’ve bought a kegerator. Filling cans from a kegerator is a much easier way to test the seal of each can. Testing the seals allows you to dial in the settings of your can seamer so that it’ll always seal correctly. Alternatively, you could can-condition smaller 1-gallon batches of beer to test the seal. Either way, you won’t risk a full 5-gallon batch.

Anyway, less than half the batch carbonated properly in the cans, and my conditioning chamber smelled like marmite or something terribly yeasty. There were obvious dried spill marks streaking down the cans that didn’t seal properly. I was worried I’d have to dump all of the bad cans, but just to experiment I opened all of those and poured their contents into some GrowlerWerks pressurized growlers, then used the gas tanks from those to carbonate the beer. It worked like a charm. I imagine I could’ve done the same thing in a small 1.75-gallon keg like they sell for the PicoBrew, too.


